Mail
In this chapter, we guide you how to use mails with grommunio Web. After reading through this chapter, you should be able to read, send and organize your e-mails.
Mail reading
By default, the main content area in the mail interface is split into three parts. In the left pane, the folder navigation area is visible. Right next to the folder navigation area is the folder list area which lists all mails from the particularly selected folder from the folder navigation area. Selecting an e-mail from the folder automatically opens the e-mail in the main window area, showing the e-mail effectively.
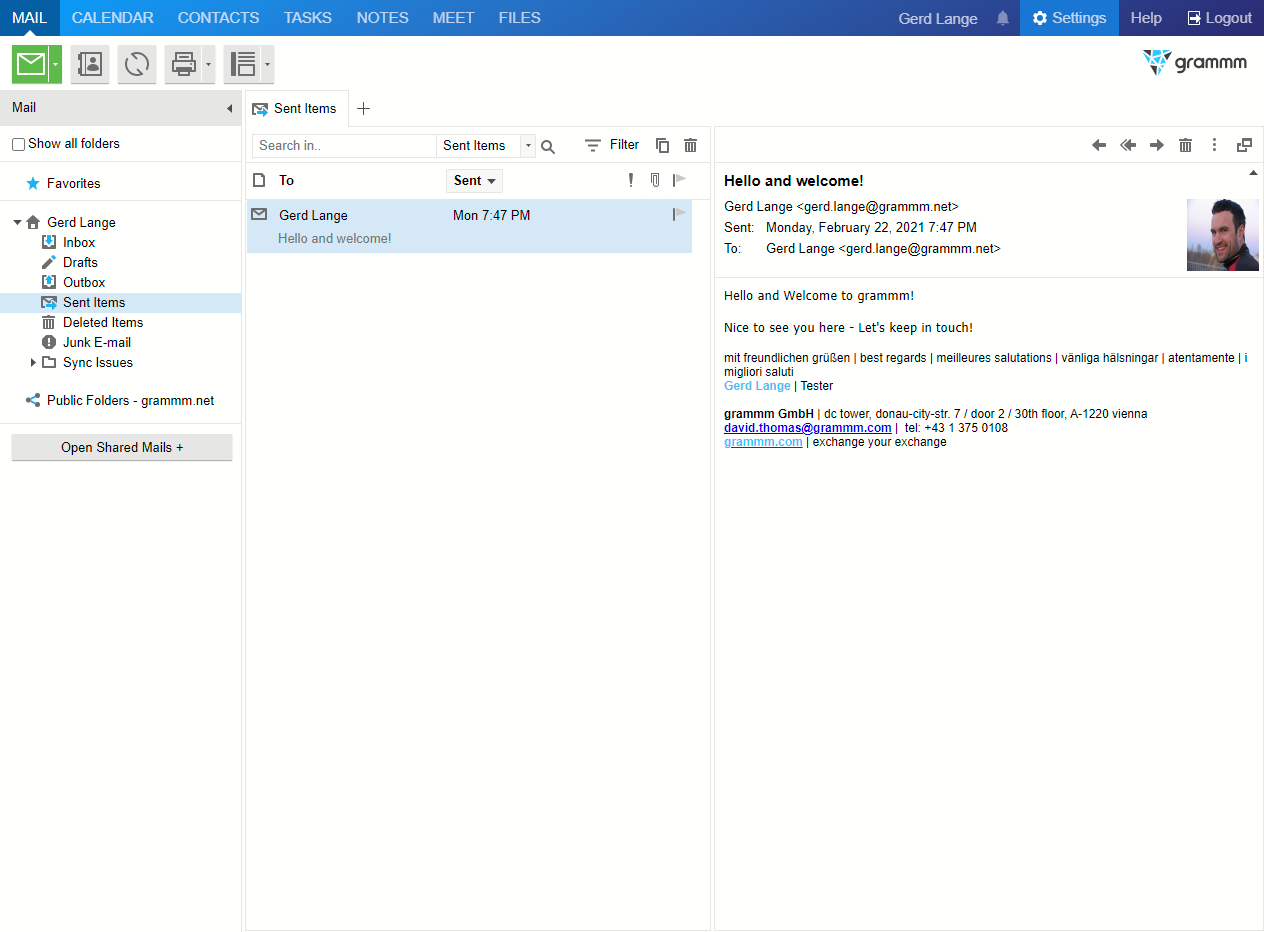
Reading mails with default layout
Mail sending
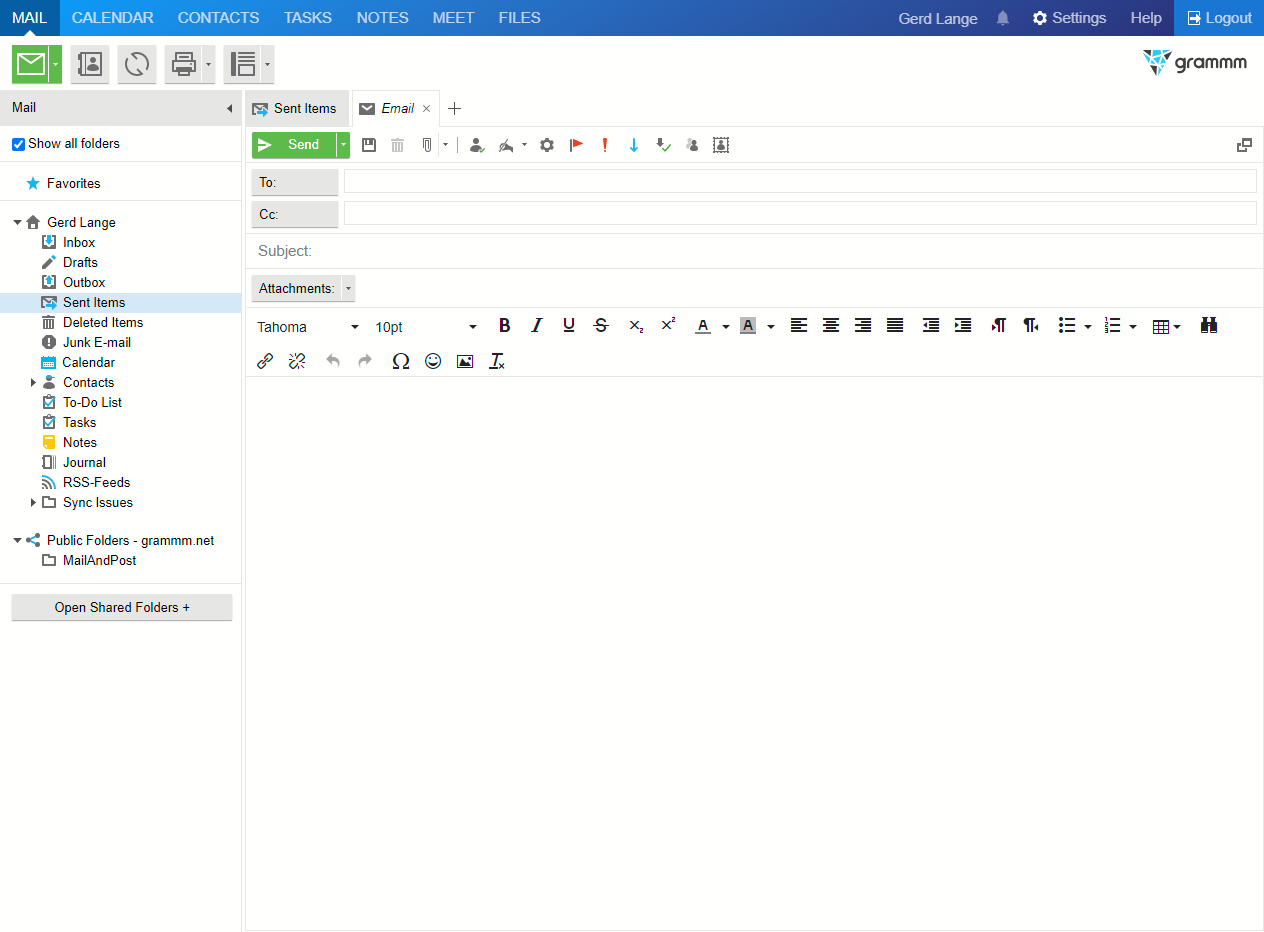
To compose a new mail, choose the highlighted "New Email" button from the main shortcut bar.
Pressing the button will open a new mail tab with an empty ready-to-write-mail interface.
To add a recipient, either manually add this recipient by typing the recipient's mail address in the To:, CC: or BCC: fields. (BCC is available via the "Show BCC: field" button from the composition windows shortcut bar.) Alternatively, you can add a recipient by clicking the To: or CC: button to access the address book and select the recipients from a list.
The "Check names" button automatically checks for the recipients in the available address books and therefore auto-completes or either substitutes the manual entries with the corresponding address book objects.
Attachments can be added by choosing the "Paperclip" button from the composition window shortcut bar.
With the "Exclamation mark" button or the "Arrow Down" button, the priority of the mail can be raised or lowered.
When using HTML as a composition format (this is default), the main mail body provides a vast number of formatting options ranging from the choice of fonts, sizes, typographical typesetting and much more. It is generally recommended to keep individual styling at a modest level, because your recipient, depending on their used mail client, might receive a mail not in the intended format due to filtering or other potential mechanisms and implementations.
Pressing the "Floppy disk" button saves the mail, adding it to the Drafts folder. The message can be opened at a later time again to resume the composition.
Pressing the "Send" button sends the mail on the journey to the selected recipients. The draft is automatically moved to the Sent Items folder for future reference.
Composing a new mail