Contacts
In this chapter, we guide you on how to use Contacts in grommunio Web. After reading through this chapter, you should be able to create and manage contacts, as well as work with distribution lists.
Adding a new contact
Section titled “Adding a new contact”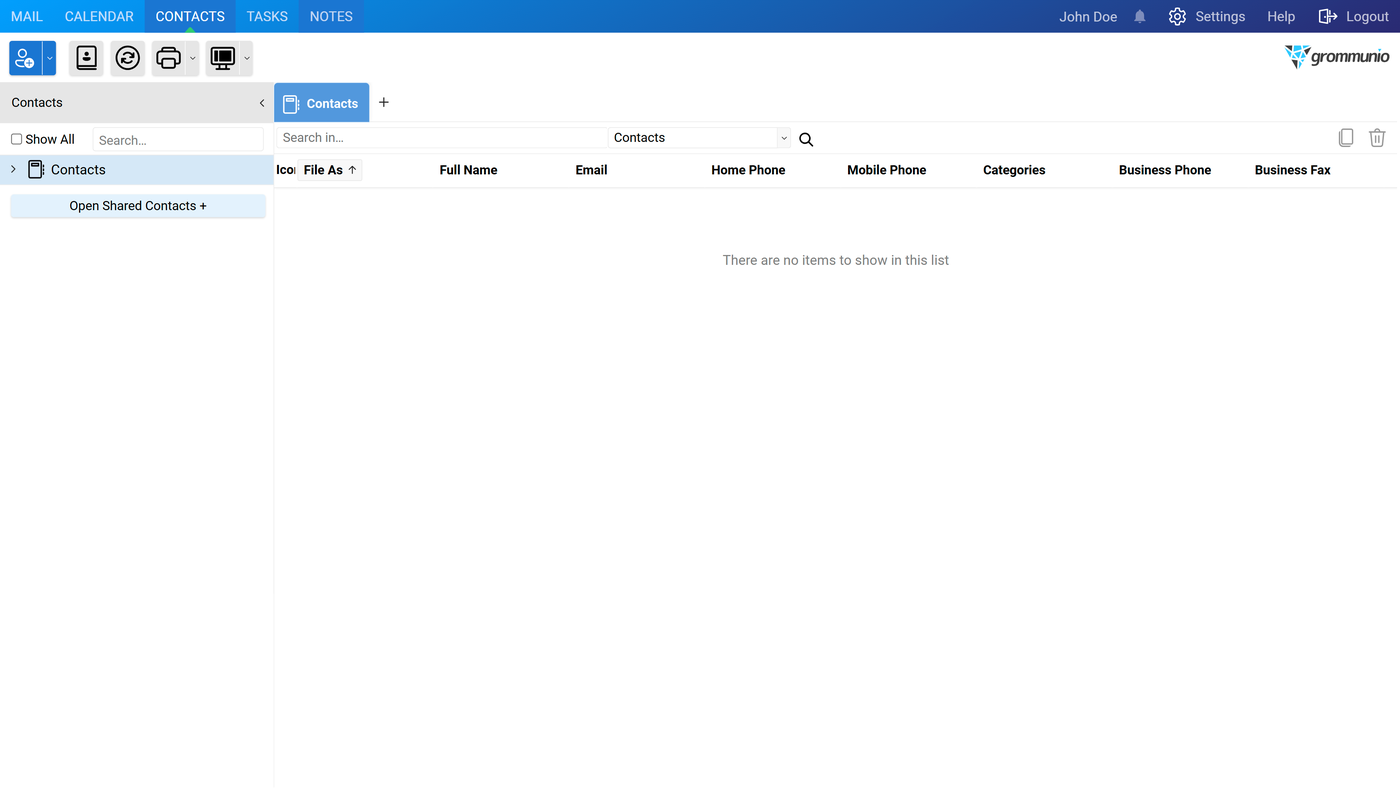
To add a new Contact click on the contacts icon in the Shortcut Bar or click on the + symbol at the end of the Tab Bar.
This will open the Contacts Editor. The Contacts Editor in grommunio Web allows users to manage and maintain contact information. It is divided into three main tabs:
- General
- Details
- Map
Each tab has a different purpose and provides fields for entering various pieces of information about a contact.
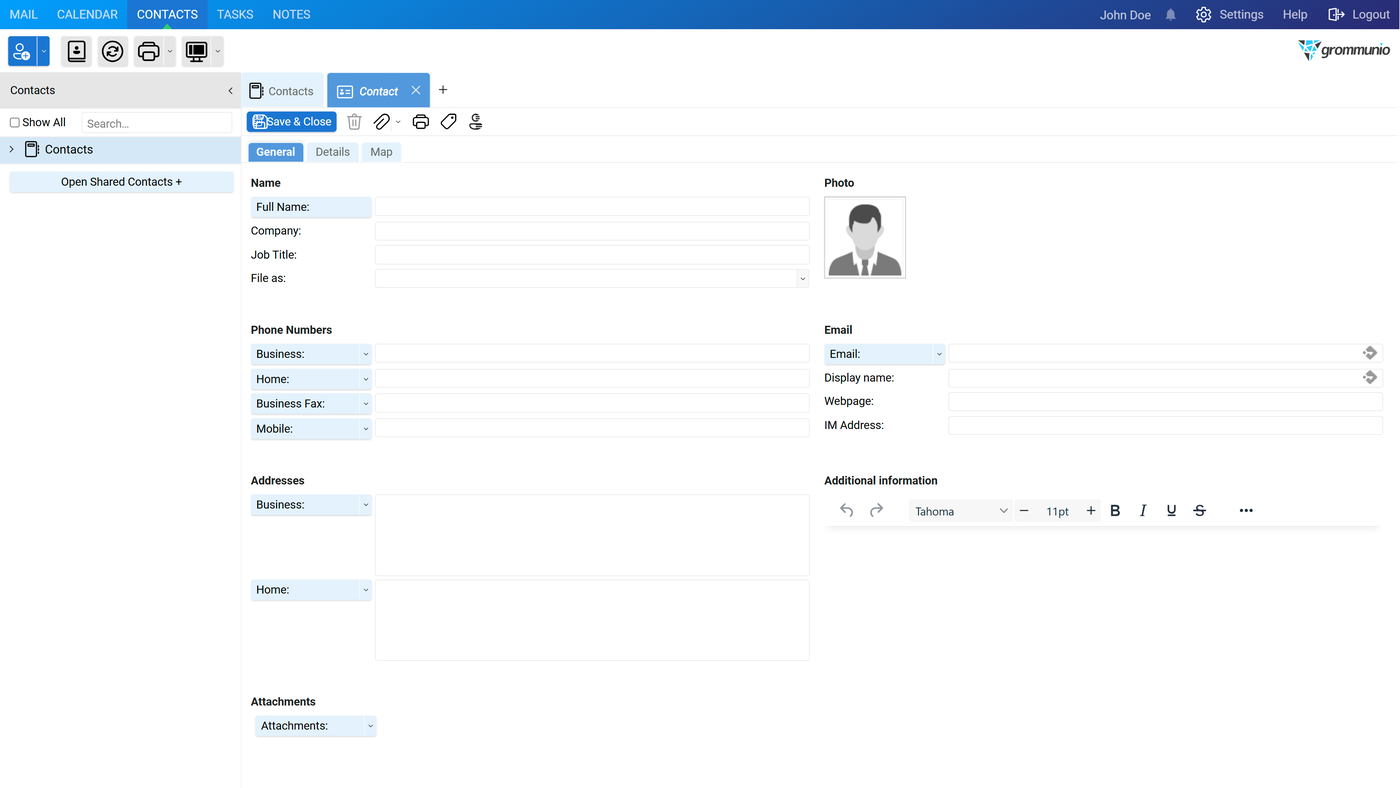
General Tab
Section titled “General Tab”The General tab is the first section of the contact editor. It is used for entering basic contact information, including names, phone numbers, email, and more.
Key Fields in the General Tab
Section titled “Key Fields in the General Tab”- Name:
- Full Name: The Full Name field acts as a button. When selected, it opens a new window that allows the full name to be divided into individual components:
- Title: Enter the contact's title (e.g., Mr., Mrs., Dr.).
- First: Enter the contact's first name.
- Middle: Enter the contact's middle name (optional).
- Last: Enter the contact's last name.
- Suffix: Enter any suffix (e.g., Jr., Sr., II, III).
- Company: Enter the name of the company the contact works for.
- Job Title: Specify the contact's job title.
- File as: Select how the contact should be sorted or displayed (e.g., first name or last name).
- Full Name: The Full Name field acts as a button. When selected, it opens a new window that allows the full name to be divided into individual components:
- Phone Numbers:
- Business: Enter the business phone number.
- Home: Enter the home phone number.
- Business Fax: Enter the business fax number (if applicable).
- Mobile: Enter the mobile phone number.
Each phone number field (Business, Home, Business Fax, Mobile, etc) acts as a button. When clicked, it opens a window with the following fields:
- Country/Region Code: Enter the country or region code.
- City/Area Code: Enter the city or area code.
- Local Number: Enter the local phone number.
- Extension: Enter any extension number (if applicable).
Additionally, there is a dropdown field to select the type of phone number. The available options in the dropdown are:
-
Assistant
-
Business
-
Business 2
-
Business Fax
-
Callback
-
Car
-
Company
-
Home
-
Home 2
-
Home Fax
-
ISDN
-
Mobile
-
Other
-
Other Fax
-
Pager
-
Primary
-
Radio
-
Telex
-
TTY/TDD
-
Email:
- Email: Enter the contact's email address.
- Display Name: Set a custom name to display for the contact, if desired.
- Webpage: Provide the contact's personal or business webpage URL.
- IM Address: Enter the contact's Instant Messaging address (if applicable)
The Email field acts as a button with enhanced functionality. Selecting the email button opens the address book, allowing an existing contact's email address to be selected instead of being entered manually.
Additionally a dropdown menu allows classification of the email entry. The available options are:
-
Email
-
Email 2
-
Email 3
-
Photo:
- Upload a photo of the contact, which will be displayed alongside their information for easy recognition.
- Addresses:
- Business: Enter the contact's business address.
- Home: Enter the contact's home address.
Each address field (e.g., Business, Home) acts as a button. When clicked, it opens a window with the following input fields:
- Street: Enter the street address.
- City: Enter the city.
- State/Province: Enter the state or province.
- Postal Code: Enter the ZIP or postal code.
- Country/Region: Enter the country or region.
Additionally, there is a Type Dropdown to classify the address. The dropdown options include: Home – Business – Other
- Additional Information:
- Include any additional notes or information about the contact that may be useful.
- Attachments:
- Upload any relevant attachments related to the contact (e.g., documents, images).
Details Tab
Section titled “Details Tab”The Details tab provides a place to enter more specific or extended information about the contact that may not fit into the General tab.
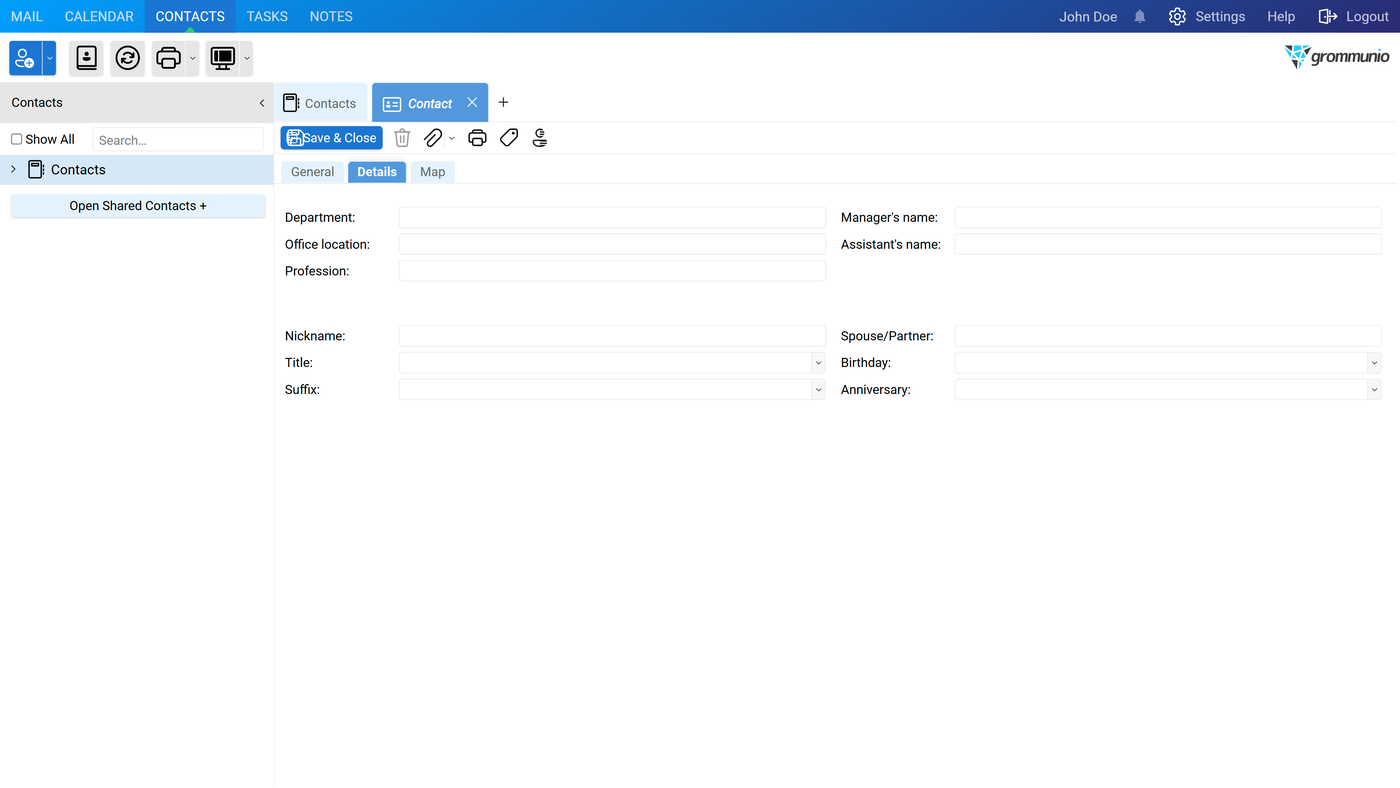
- Department: Enter the contact's department within their organization.
- Office Location: Specify the office or physical location of the contact.
- Profession: Define the contact's professional field or area of expertise.
- Manager's Name: Enter the name of the contact's manager or supervisor (if applicable).
- Assistant's Name: Enter the name of the contact's assistant (if applicable).
- Nickname: If the contact goes by a nickname, enter it here.
- Title: Enter the contact's professional title or honorific. Options: Dr., Miss, Mr., Mrs., Ms, Prof
- Suffix: Provide any suffix for the contact's name (e.g., Jr., Sr., II, III). Options: I, II, III, Jr., Sr.
- Spouse/Partner: Enter the name of the contact's spouse or partner (if applicable).
- Birthday: Record the contact's birthday.
- Anniversary: Record the contact's wedding or partnership anniversary.
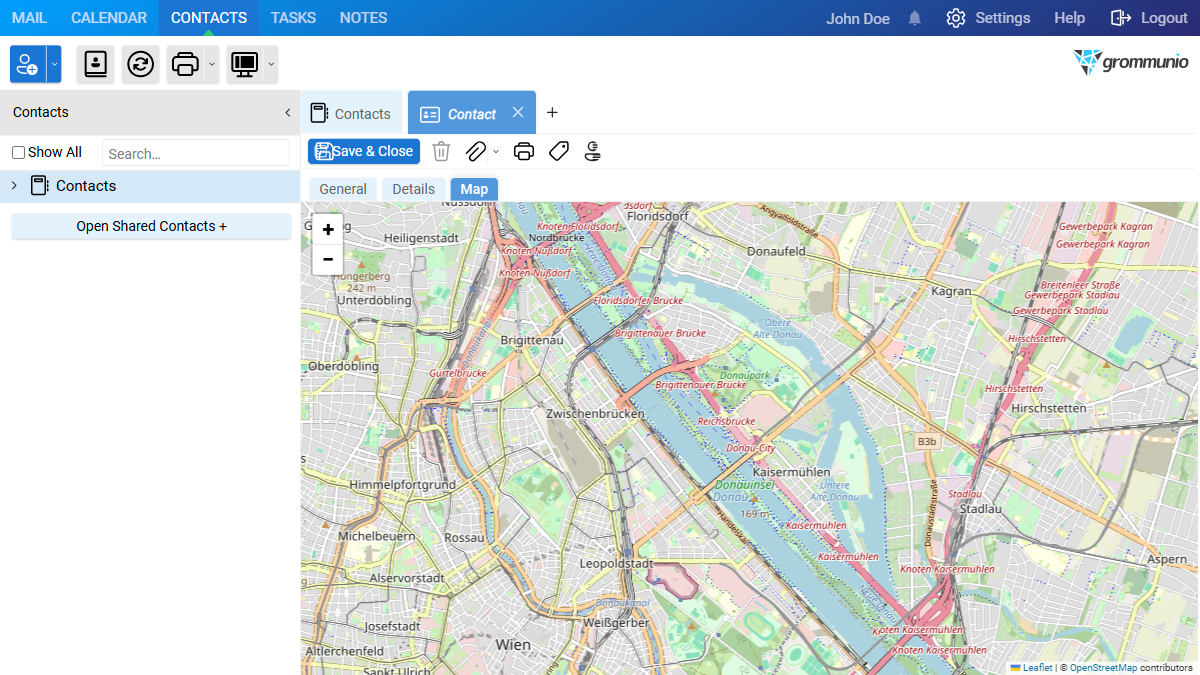
Map Tab
Section titled “Map Tab”The Map tab integrates geographical location data. If the contact has an address entered, the location can be viewed on an embedded map.
Contact Toolbar
Section titled “Contact Toolbar”The Contact toolbar is located at the top of the contact window and provides quick access to commonly used actions.
-
Save & Close - Saves the contact and closes the editor.
-
Delete - Permanently removes the contact from the address book. Moves it into the Deleted Items folder.
-
Attachment Dropdown - Provides two methods for adding attachments:
- File Upload: Upload a file directly from the computer.
- Attach Item: Attach an item from the mailbox (email, contact, calendar entry, task, or note) as an attachment or as text only.
-
Print - Prints the contact details.
-
Send Email - Opens a new email composition window pre-populated with all email addresses entered for the contact. This allows immediate composition of an email to the contact.
-
Categories - Assigns one or more categories to the contact.
-
Mark as Private - Marks the contact as private so its details are hidden from other users.
Distribution List
Section titled “Distribution List”To create a Distribution List:
- Navigate to the Shortcut Bar in the Grommunio Web interface.
- Open the dropdown menu on the Shortcut Bar.
- From the list of options, select Distribution List.
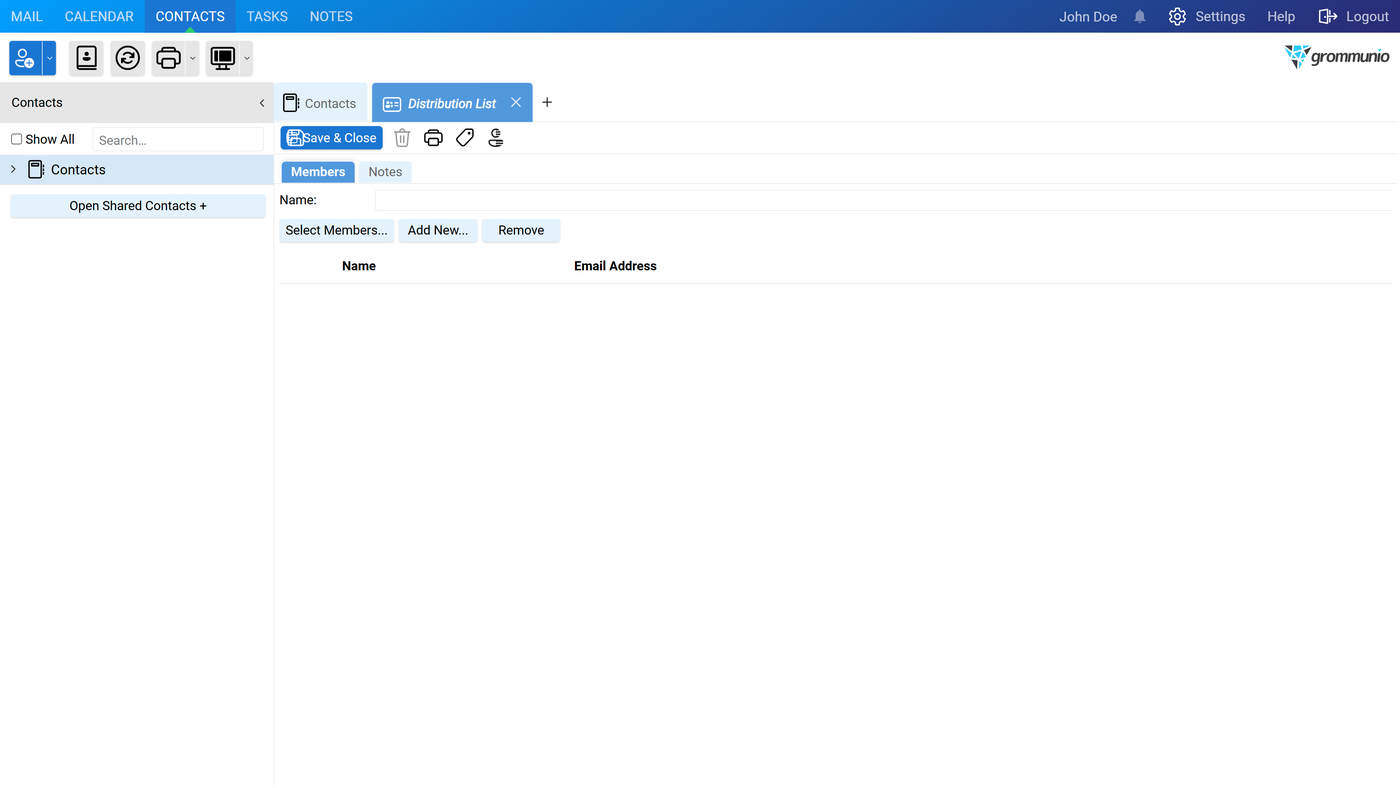
Selecting Distribution List from the Shortcut Bar dropdown, opens the Distribution List Editor. This editor is divided into two tabs:
- Members
- Notes
Members Tab
Section titled “Members Tab”The Members tab is used for building and managing the distribution list. First, a descriptive name is entered in the Name field.
Below the name are three main buttons:
- Select Members Opens the Address Book with an extended Members field. From this view, the following actions are available:
- Enter a contact directly in the Members field.
- Select a contact from the GAL (Global Address List).
- Select a contact from the Contact Folder. To add a contact to the list, double-click the entry.
- Add New Allows manual addition of a new entry by providing a name and an email address that is not yet available in the address book..
- Remove Removes the selected contact(s) from the distribution list.
Notes Tab
Section titled “Notes Tab”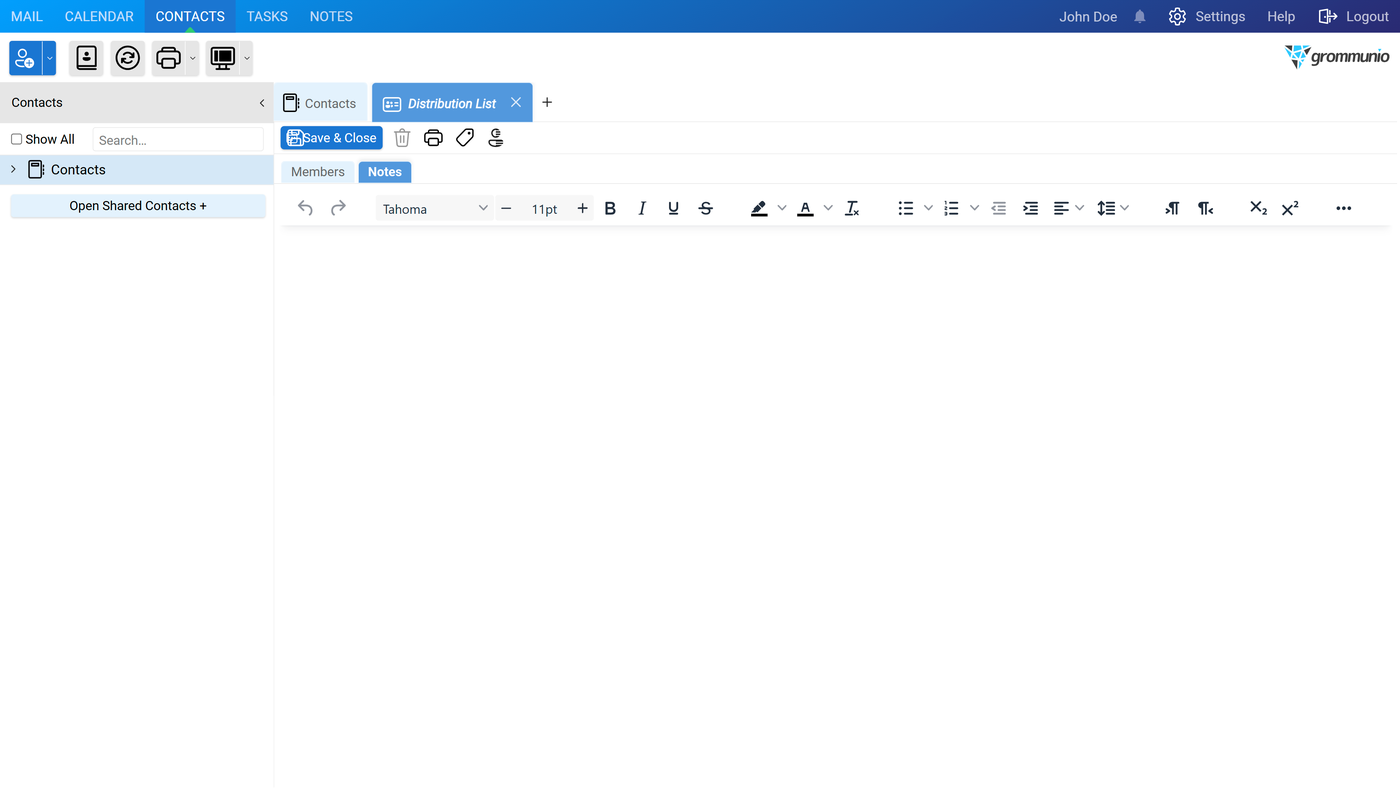
The Notes tab provides a space for any additional information or comments related to the distribution list. This can include details like:
- Purpose of the list
- Usage context
- Special instructions for members
- Internal notes for future reference
When finished, click Save & Close to store the distribution list.
Standard Contact Options
Section titled “Standard Contact Options”When an existing Contact or Distribution List is right-clicked, the following options become available:
-
Open - Opens the selected contact to view or edit its details.
-
Copy/Move - Allows duplication of the contact or moving it to another folder.
-
Print - Prints the contact information using the configured print settings.
-
Categories - Assigns one or more categories to the contact to help with organization and filtering.
-
Delete - Permanently removes the selected contact from the address book. Moves it into the Deleted Items folder.
-
Send email - Opens a new mail composition window addressed to the contact's email address(es).
-
Export as > - Exports the selected contact for external use.
- VCF file(s): Exports the contact as a vCard (
.vcf) file, which can be imported into other address books or shared with external users.
- VCF file(s): Exports the contact as a vCard (
-
Options - Displays properties such as the Object ID.
Adding Distribution List
Section titled “Adding Distribution List”Sending an email to a distribution list works the same way as sending to a single contact. Simply select the distribution list from the address book when adding recipients to the TO or CC fields. Once selected, all members of the list will automatically appear in the chosen field.