

Files
The Files plugin brings your file storage, for example grommunio Files, into grommunio Web. You can browse your folders, upload and preview documents, share them with others and attach them to mails without downloading them first.
Switching Files on
Section titled “Switching Files on”- Open Settings › Plugins.
- Tick Files Plugin and click Apply.
- Reload grommunio Web when asked.
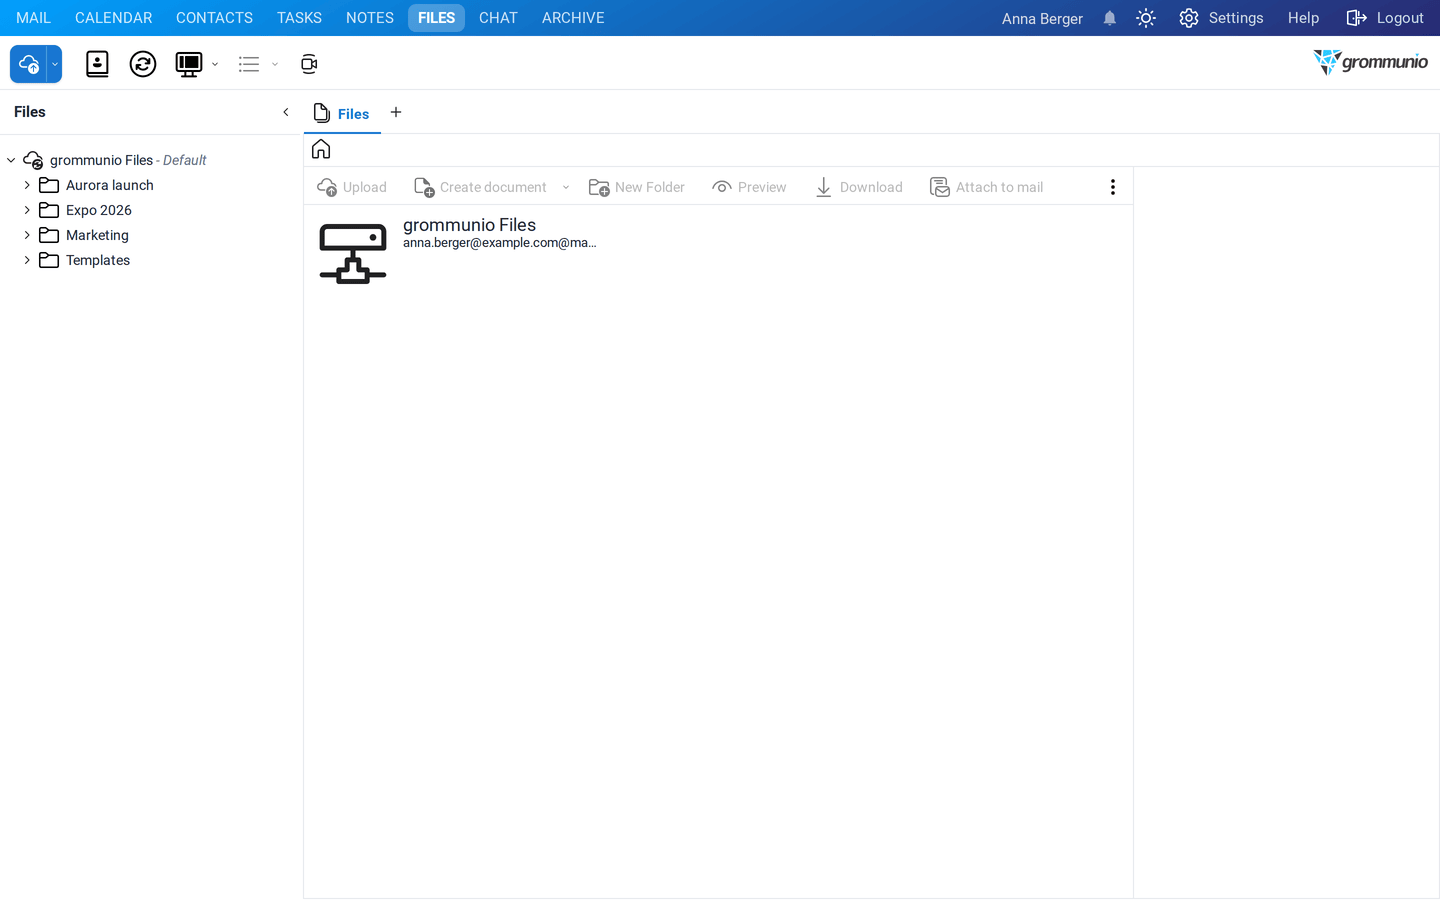
A Files tab appears in the top bar. Until you add an account, it shows There are no accounts added. Go to settings, Files tab and add an account.
Adding a Files account
Section titled “Adding a Files account”- Open Settings › Files.
- Click Add Account.
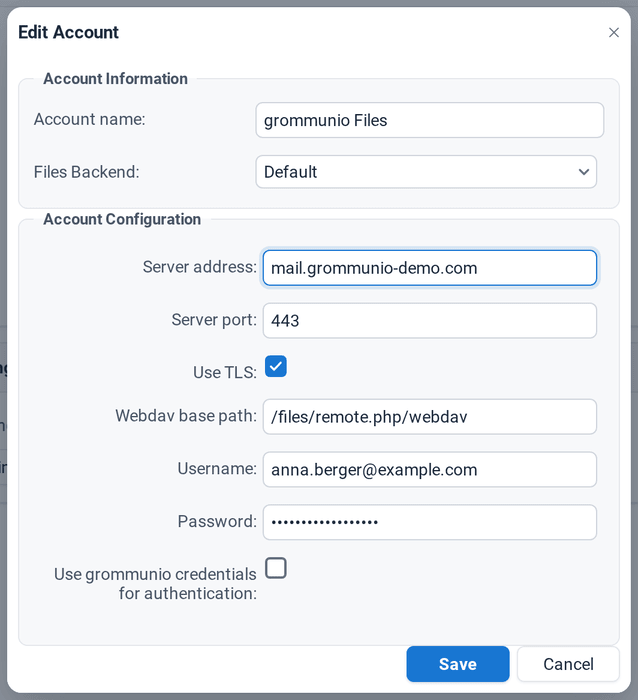
- Enter an Account name, for example grommunio Files, and choose the Files Backend: Default (WebDAV, used for grommunio Files and other WebDAV servers) or Seafile.
- Enter the connection details your administrator gave you:
- Server address, for example
mail.example.com, - Server port (
443) and Use TLS, - Webdav base path, for grommunio Files
/files/remote.php/webdav(without a slash at the end).
- Server address, for example
- Either tick Use grommunio credentials for authentication, or enter a Username and Password.
- Click Save and Apply.
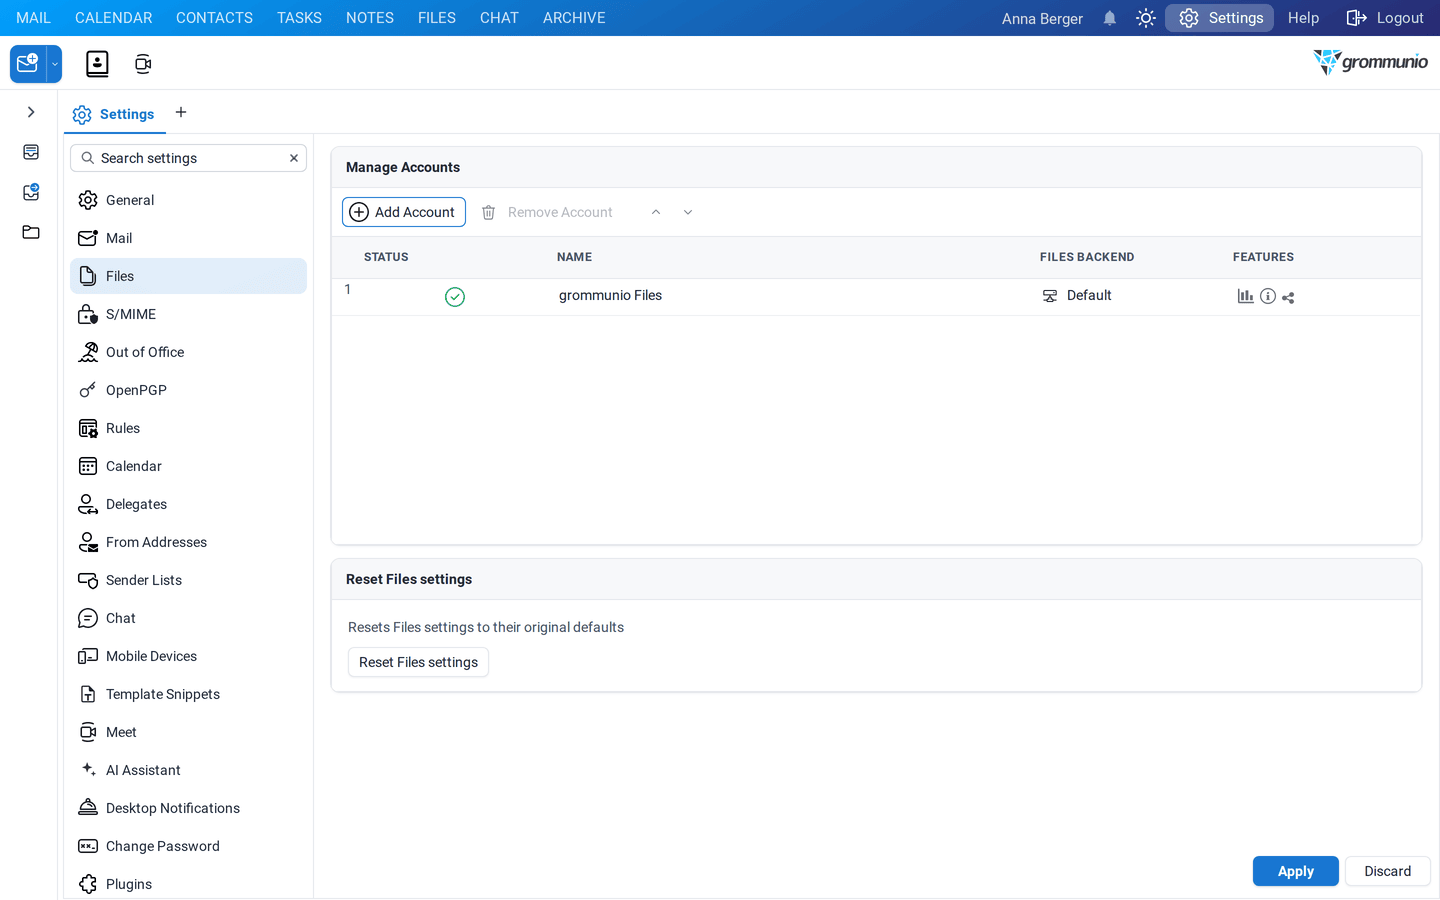
The account appears in the list with its status and the features it supports (quota, version information, sharing, fast up- and download). A green status means the connection works.
Browsing your files
Section titled “Browsing your files”Click Files in the top bar. The folder pane shows your accounts and their folders; the middle shows the contents of the selected folder, and the preview on the right shows the selected file.
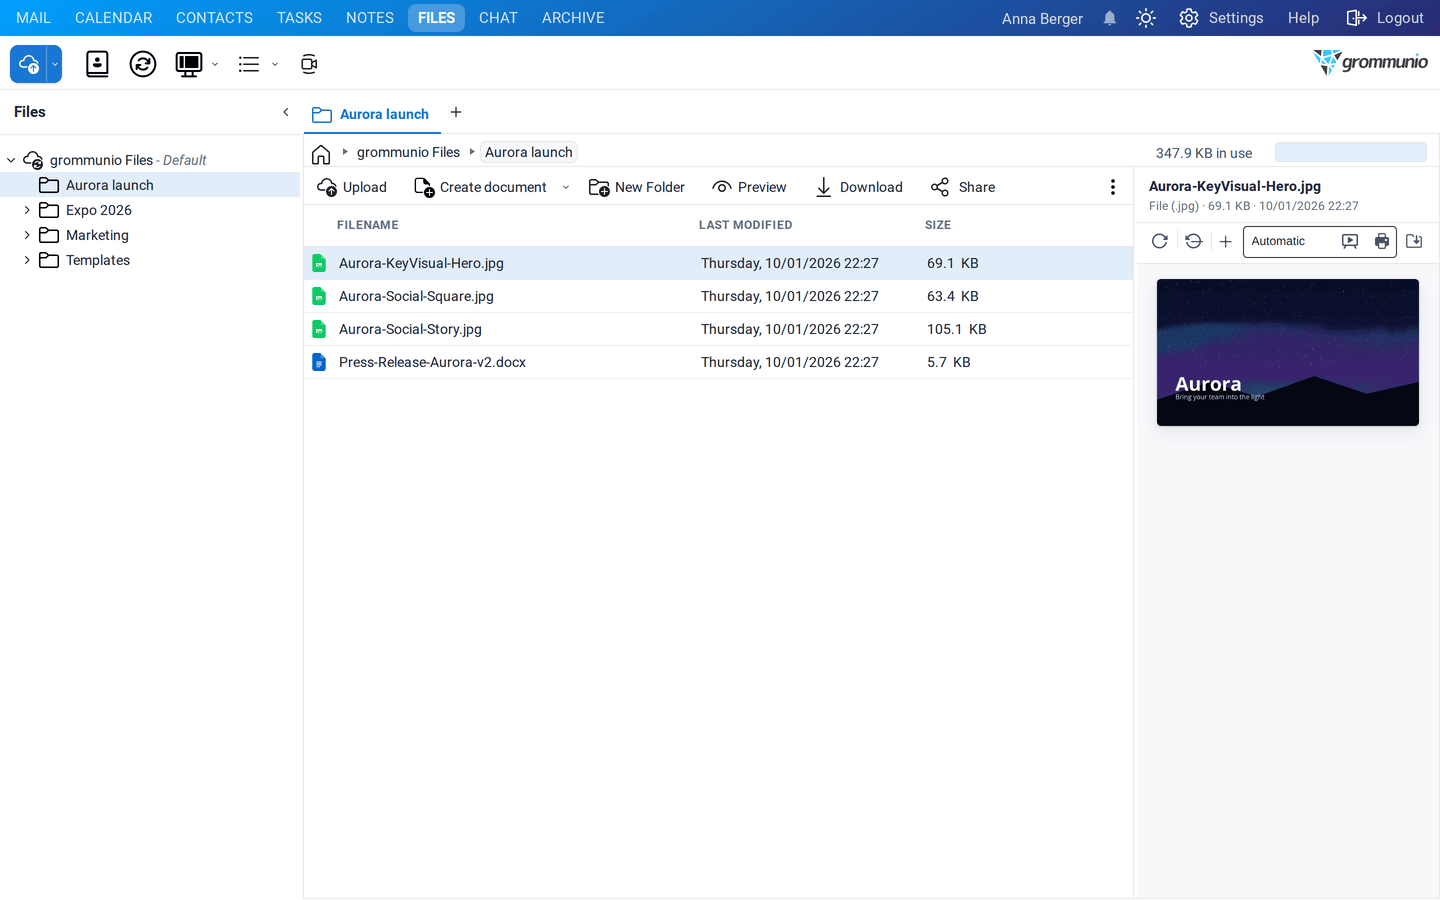
| Button | What it does |
|---|---|
| Upload | uploads files from your computer. You can also drag files into the list. |
| Create document | creates a new document, presentation or spreadsheet (if OnlyOffice is available). |
| New Folder | creates a folder. |
| Preview | opens the selected file in the document viewer. |
| Download | downloads the selected files. |
| Share | shares the file or folder (see below). |
| Attach to mail | starts a new mail with the selected files attached. |
| Attach to mail as link | starts a new mail with a download link instead of the file. |
| Rename, Delete | rename or delete the selected item (in the ⋮ menu). |
Double-click a file to open it: office documents open in OnlyOffice if your administrator enabled it, everything else in the viewer. Right-click a file for Info with the details. Switch between the List and Icons view and the position of the preview with Switch view in the toolbar.
Sharing files and folders
Section titled “Sharing files and folders”Select a file or folder and click Share:
- Share with user/group: add colleagues and decide whether they may re-share, change, create or delete.
- Share via link: creates a Public link you can send to anyone. Protect it with a Password, allow Public upload for folders, and set an Expiration date.
Files in mail
Section titled “Files in mail”- In a new mail, choose Add attachments › Add from Files to attach a file from your storage.
- Right-click an attachment in a received mail and choose Add to Files to save it to your storage.
- Right-click a mail and choose Add to Files to save the whole mail as an
.emlfile. - Choose New › Upload file in the toolbar to upload a file from any view.