Quickstart
This chapter covers a short walkthrough which can be used as a check list to install and get grommunio started.
- Download the installation ISO from https://download.grommunio.com/appliance/grommunio.x86_64-latest.install.iso. The installation image is a hybrid installation image which also allows to be transferred to a USB stick with USB imaging tools such as GNU ddrescue or https://rufus.ie.
- Use the installation media from grommunio to install and quickstart the configuration by walking through the following chapters.
- Create or request TLS certificates for secure, encrypted operation of the main services.
- Create the corresponding DNS records (A, MX, TXT and CNAME records).
- Configure the grommunio appliance by running grommunio-setup.
Minimum requirements
Section titled “Minimum requirements”For the installation of grommunio (or using the grommunio Appliance), the following minimal requirements apply:
- Server or virtual machine (VMware, Xen, KVM or Hyper-V) with at least:
- 4 CPU cores
- 6 GB RAM
- 32 GB system disk for the operating system and base install. The installer overwrites the entire target disk (see the caution under Installation). Provision additional storage for mailbox data — it is the largest sizing factor and grows with the user count and per-mailbox quota.
- Correctly configured DNS records, at least two, for example:
- <FQDN>, for example mail.example.com
- autodiscover.example.com
- A TLS certificate with all included DNS names, alternatively a wildcard certificate for the entire domain. (Let's Encrypt can be configured by grommunio-setup.) If you already own a certificate, it can be reused provided it is in PEM format, with one file containing the certificate chain and server certificate, as well as a separate key file.
Optional requirements:
- MX DNS records, for incoming mail delivery.
- At the time of certificate generation by Let's Encrypt, the accessibility of port 80 to all of the defined DNS records is a requirement.
Installation
Section titled “Installation”- Download of the bootable x86 image from download.grommunio.com: https://download.grommunio.com/appliance/grommunio.x86_64-latest.install.iso
- Load the file for installation into the server on which grommunio should be installed on.
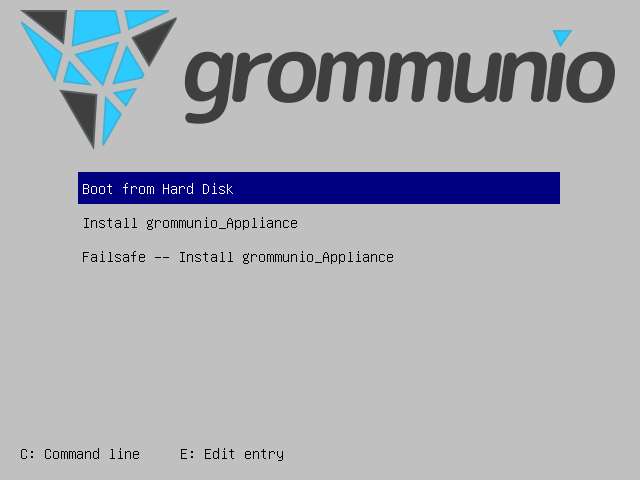
- Run the installer and choose "Install grommunio_Appliance" from the boot menu to install the appliance.
After the image has been copied to disk, the appliance is ready for boot and upcoming setup.
After installation, the appliance displays the grommunio console user interface (CUI). For more detailed instructions of the setup process, refer to grommunio Appliance configuration with CUI/setup.
To configure grommunio, proceed as follows:
- Choose "Change system password" to set a new root password.
- Choose "Network configuration" to set up networking of the appliance.
- Choose "Timezone configuration" to set up the correct timezone for the appliance.
- Choose "Timesync configuration" to set up the correct timeservers (NTP) for accurate date and time settings.
- Choose "grommunio setup wizard" to guide through subsequent configuration interactively.
- (Optionally) choose "Change Admin Web UI password" to reset the password after setup to your liking.
The "grommunio setup wizard" invokes grommunio-setup, which can be started from the CUI or any other terminal of the appliance.
To navigate within the grommunio setup wizard (grommunio-setup), use the following navigation hints:
- <TAB> navigates through dialog elements
- <ARROW-UP> or <ARROW-DOWN> navigate within form elements (such as when entering subscription details) or menu selections (during database setup)
- <j> or <k> keys for scrolling longer content-heavy dialogs (as in the finalization dialog)
- <ESC> to terminate grommunio-setup at any given stage of the configuration
Additional hotkeys are available at display of grommunio-cui at the bottom of the screen.
grommunio-setup automatically supplies defaults for most dialogs; these can be overridden as desired. For example, grommunio-setup automatically generates passwords which are also available after the installation in the grommunio-setup logfile, /var/log/grommunio-setup.log.
grommunio Admin User
Section titled “grommunio Admin User”During the process of grommunio-setup, some accounts are automatically generated - such as a database account for user management and also for the initial grommunio administrator (admin).
Repository configuration
Section titled “Repository configuration”The interactive configuration tool grommunio-setup requests subscription credentials during execution. If you own a valid subscription, enter your subscription details. Without a valid subscription, grommunio-setup activates the community repositories, which are provided on a best-effort basis and are not supported. With a valid subscription, your subscription repository is activated and delivers commercial-grade packages for the installation to keep up-to-date with latest features and fixes.
Certificates
Section titled “Certificates”grommunio-setup offers four ways to provision the TLS certificate used by all services:
- Self-signed certificate — the simplest option (the default); clients must trust it on first connect. Best for demos and validation, not production.
- Own CA + certificate — generate a local certificate authority and sign certificates from it; useful for larger multi-instance validation setups.
- Import an existing certificate — bring your own PEM certificate/key pair (a SAN or wildcard certificate is recommended). The most flexible option for publicly trusted CAs.
- Let's Encrypt — free, automatic issuance and renewal; requires port 80 reachable from the Internet for every domain during validation (and renewal). Recommended for most simple installations.
Certificates are placed in /etc/grommunio/ssl and referenced automatically by the appliance services. See TLS configuration for the detailed walkthrough of each option.
Firewall
Section titled “Firewall”For seamless operation, the grommunio appliance opens different ports so that clients can access it. The following ports are made available by default:
- 25 (smtp)
- 80 (http)
- 110 (pop3)
- 143 (imap)
- 443 (https)
- 465 (smtps — implicit-TLS mail submission)
- 587 (submission — STARTTLS mail submission)
- 993 (imaps)
- 995 (pop3s)
- 8080 (admin, unencrypted — used during initial provisioning)
- 8443 (admin https)
Generally, it is recommended to only make available the ports that are required for service access. Note that grommunio's major protocols, RPC over HTTP, MAPI/HTTP, EWS (Exchange Web Services) and EAS (Exchange ActiveSync) are all accessed via port 443 (HTTPS).
When operating with proxies and load balancers, note that for successful operation of proxying RPC, special configuration needs to be in place. The required HTTP transport modes required to operate RPC over proxies are RPC_IN_DATA and RPC_OUT_DATA. Known supported proxy software to support these RPC data channels are: haproxy, squid, nginx and apache.
Verify the installation
Section titled “Verify the installation”Once grommunio-setup finishes, you have a configured — but still empty — system. Confirm it is working:
- Open the Admin UI at
https://<FQDN>:8443/and sign in asadminwith the password you set (or the one generated by grommunio-setup, recorded in/var/log/grommunio-setup.log). - Open grommunio Web at
https://<FQDN>/— the user webmail and groupware interface.
If both load over HTTPS and the Admin UI signs in, the appliance is ready.
Next steps
Section titled “Next steps”A fresh appliance has no mail domains or users yet. Continue with:
- Administration — create your first mail domain and user, then manage roles, public folders and settings.
- Operations — day-2 tasks, updates, and switching the Admin API to TLS.
- Migration — import mailboxes from Exchange, Kopano and other systems.